Thursday, July 15, 2010

Explosion Box for gift cards

Here are pictures of a box that I made using instructions from the website Paper Pastimes. I put her button on the right side of my blog. You really need to check out her work, it is so awesome! This project was made using only double sided papers (2 sheets), a cutter, a bone folder, some scissors, ribbon and adhesive, nothing was cut using the cricut. To get the instructions on how to make the box and lid I viewed the Cake in a Box video at Paper Pastimes, as you can tell I skipped the cake part (I really want to try it eventually though). I just love the paper I used which is Berry Sweet from K and Company. The ribbon is from Paper Trey Inc. Here is the box.

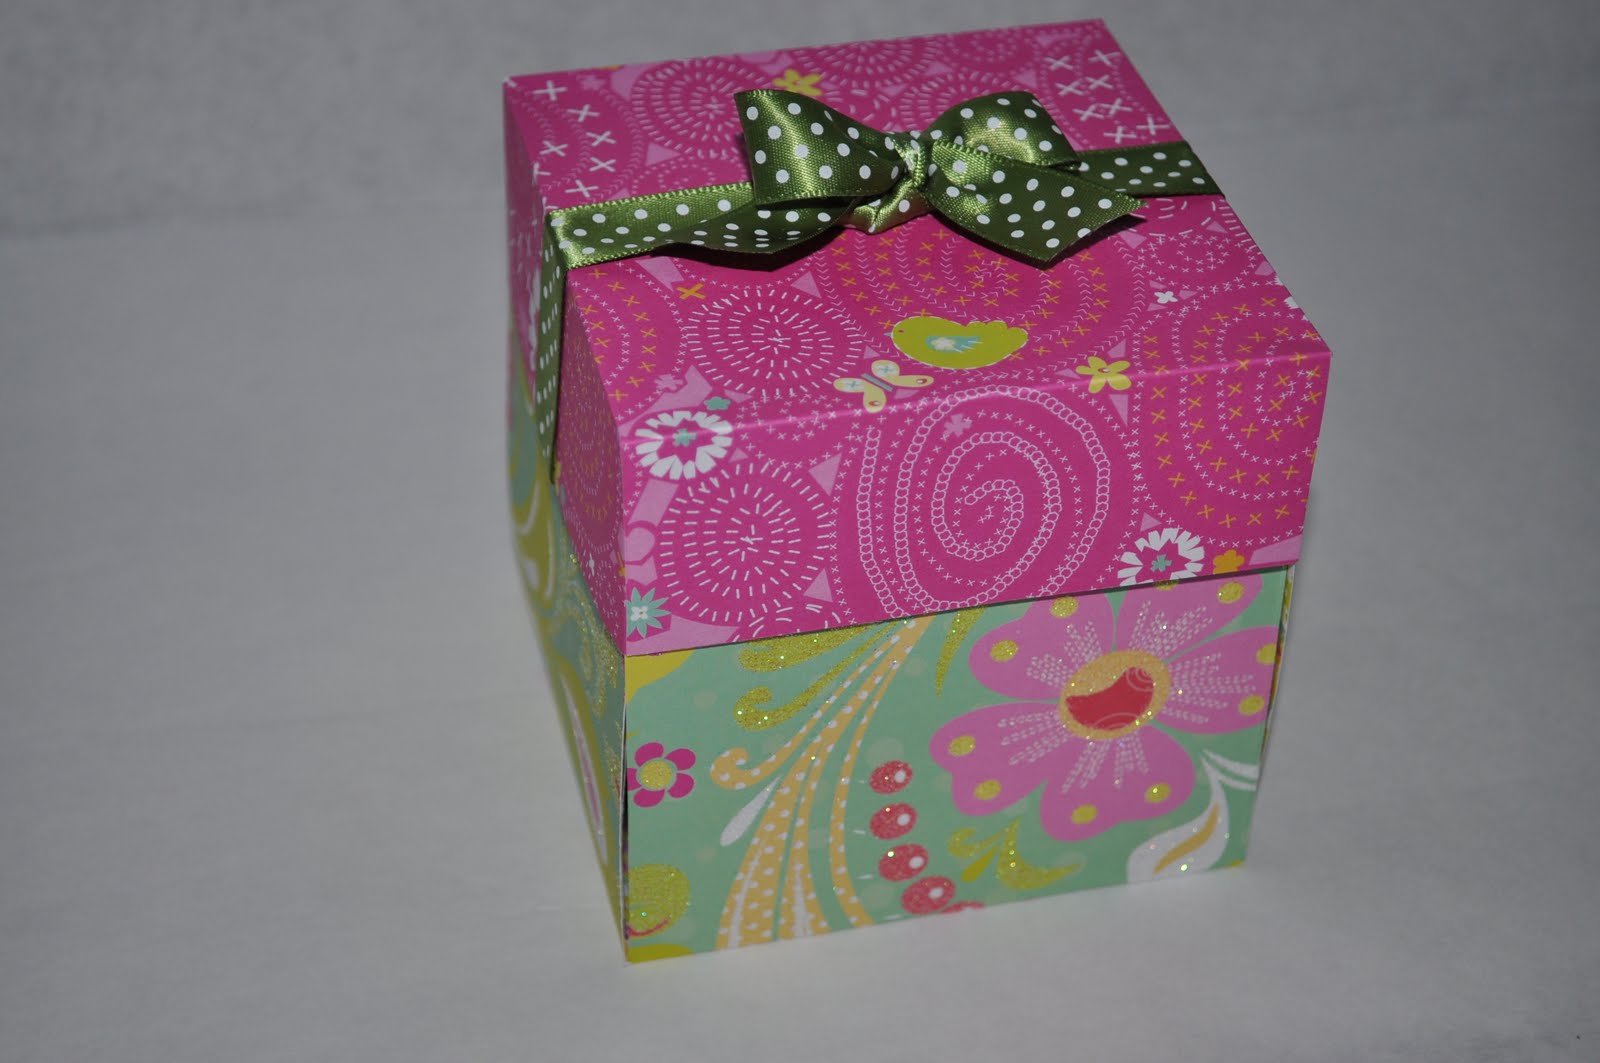
Here is a picture of the lid partially removed. As you can see, the sides of the box are not attached, so the box "explodes" when you take the lid off.

I couldn't bear to discard the corners of the paper that I had to cut off to make the box, so I decided to cut a flower and swirl from one of my scrap corners and attach it similar to the way Denise from Paper Pastimes in her video Explosion Box Gift Card holder attached her snowmen. Here is a picture of the box opened.

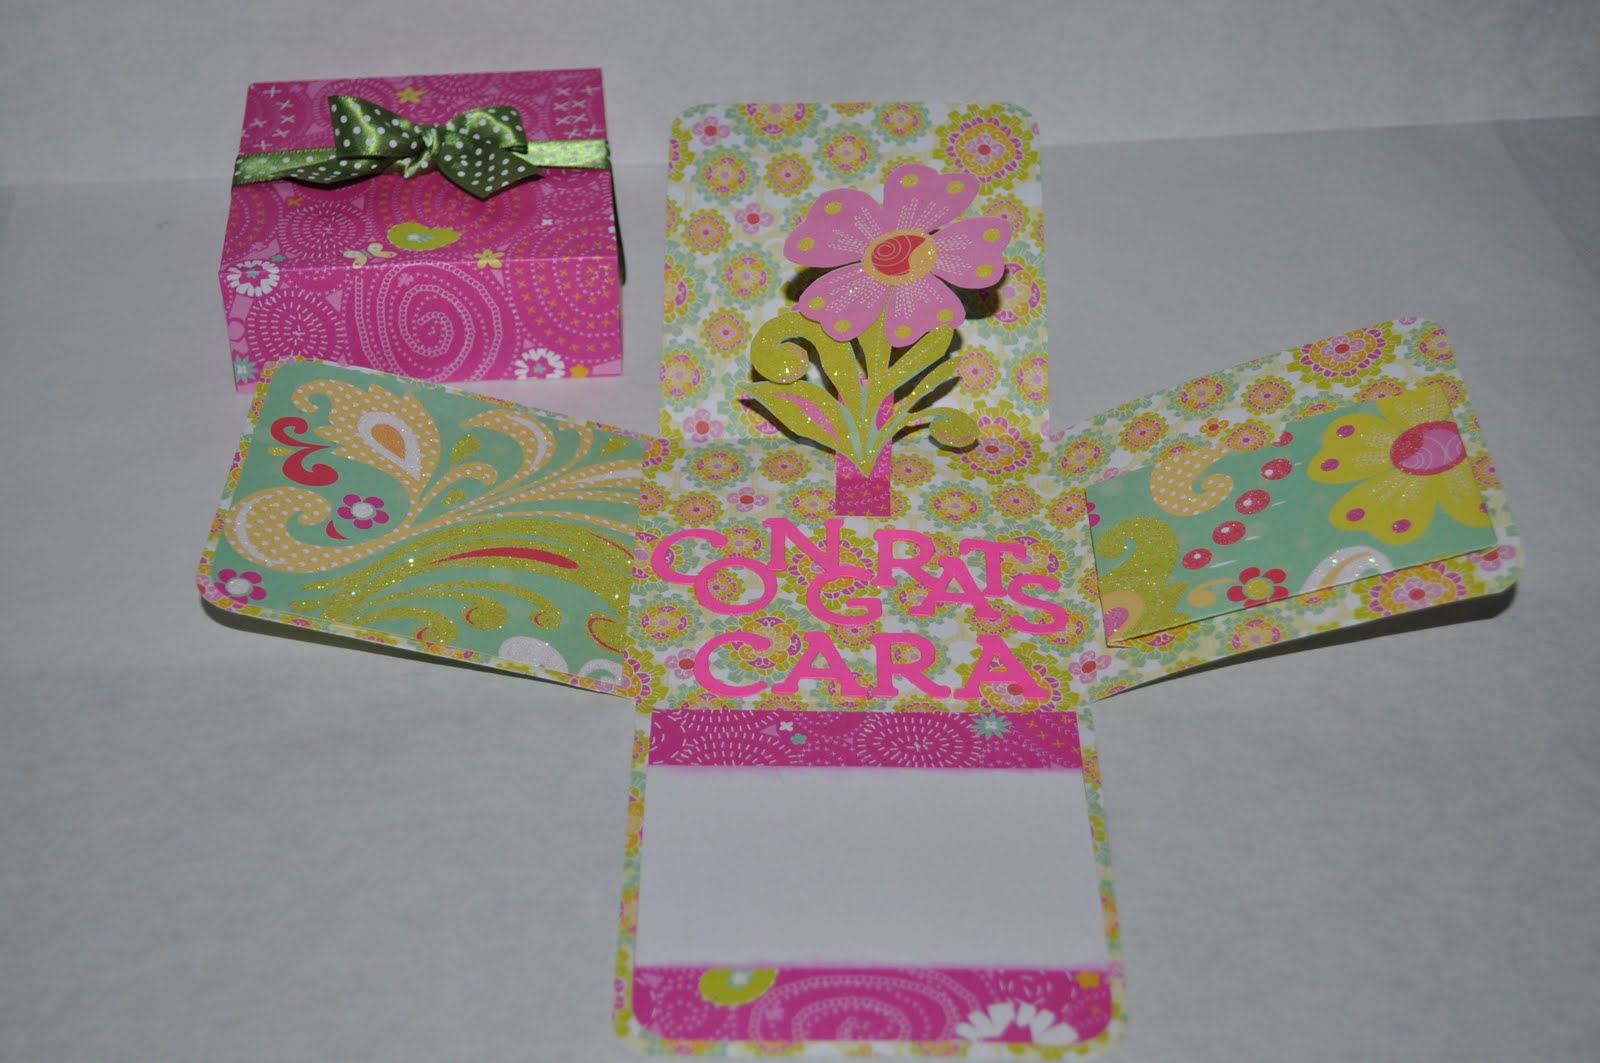
I just used another scrap corner and created a gift card holder similar to the one from the Cake in the Box video, it is on the right side of the box. I also used a small circle punch to punchout the half circle to make it easier to get the gift card out of the holder. Here is a close up of the holder.

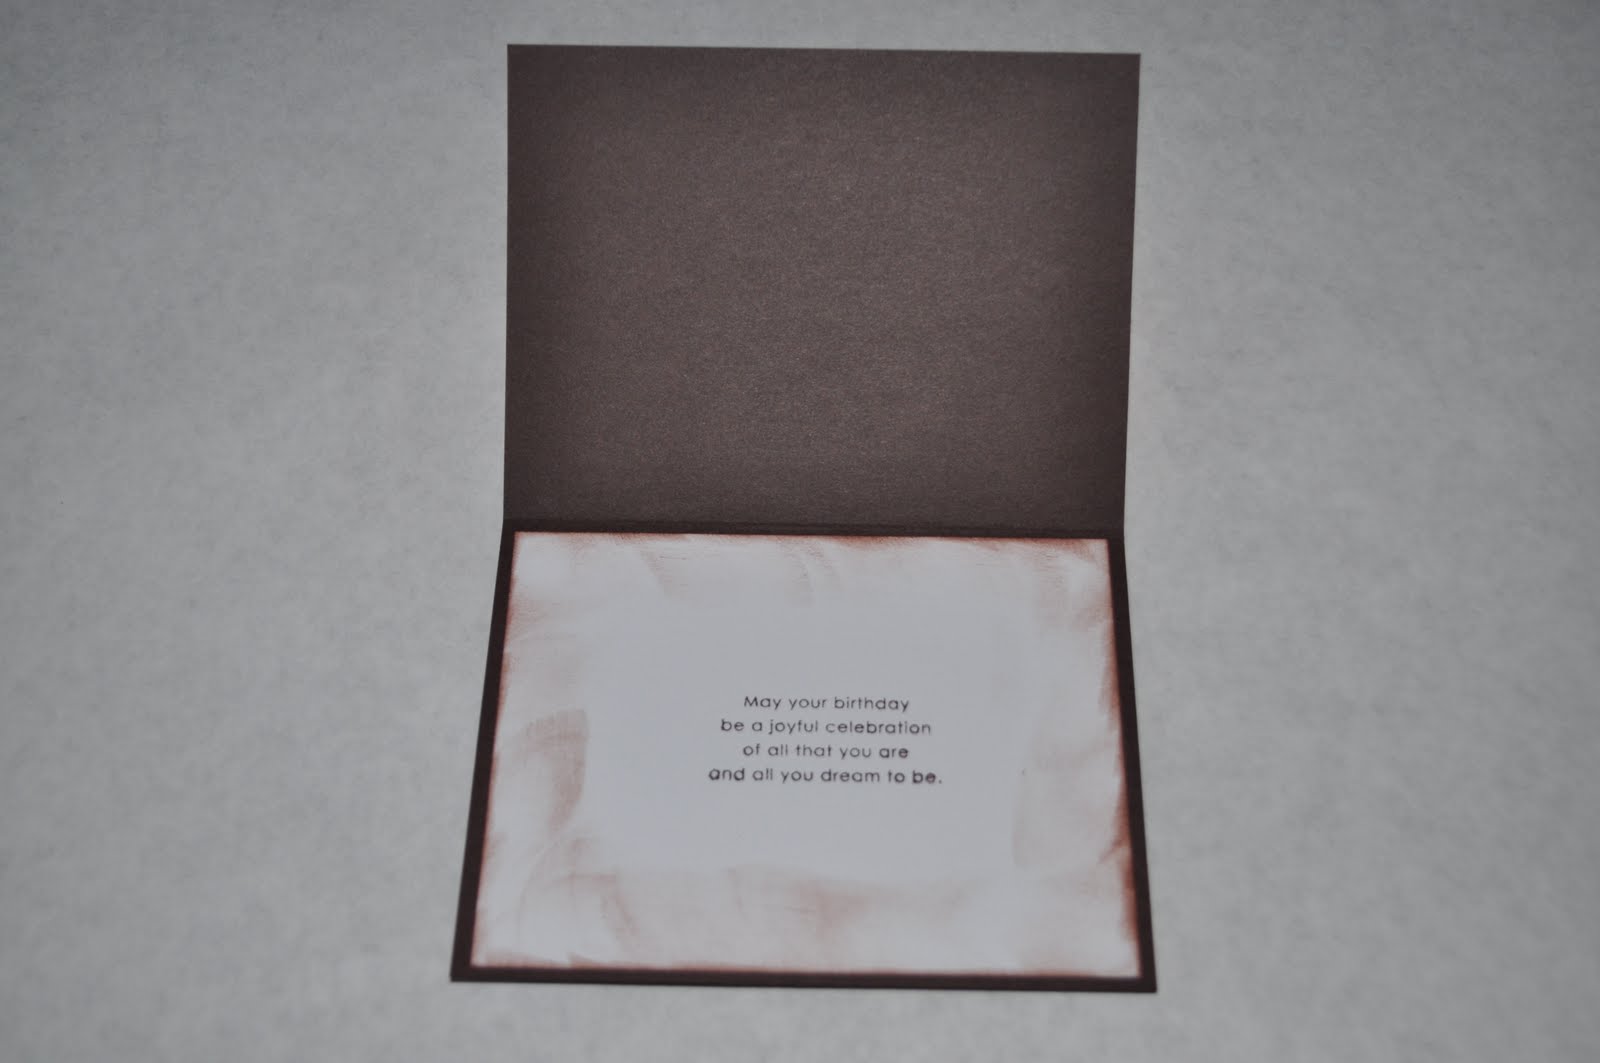
On one flap I attached a small piece of white paper to write a sentiment on. I also chalked around the edges with pink ink.

Here is a close up of the flower in the center. Can you see the glitter on the paper?

Sunday, July 11, 2010

Birthday Card


Here is a birthday card that I made for my son who turned 10 on Friday. He has been anxiously waiting for the movie Dispicable Me to come out. The funky looking little characters on the card are my rendition of the minnions in the movie, they are a little rough, but my son could tell what they were. A friend of his who turns 10 in about three months saw it and asked me to make him a card for his birthday!

The letters were cut using the Cuttin' Up cart from PC. and I attached two minnions from thin string to make them hang from the card when opened.

Inside the card we put a movie ticket to the 3D version of Dispicable Me.

Saturday, July 3, 2010

Wedding Card

Here is a wedding card that I made using the Stretch Your Imagination cart from PC. First I cut the card at 5 in, which I was thinking would give me an A2 size card, but I actually got a 5 X 5 size card. The layering for the couple was cut at 2 1/2 inches. I put the red paper behind it because I wanted the little heart at the bottom to stand out. I also had to make an envelope to fit the card. I found a Design Studio cut file at a great blog called The Frugal Crafter (two of my favorite things frugality and crafting!), there is a link on the right hand side of my blog. The envelope she created did not fit my 5 X 5 card, but with very little tweaking I made it the size that I needed it to be.

I don't know if you can see it or not, but the wedding dress was cut with white glitter paper (I think it is Die Cuts With a View-but I am not certain). The black & white stripped paper is glitter also, probably DCWV.

Here is a picture of the envelope I made for the card. Isn't it great? Thanks Frugal Crafter!

Friday, July 2, 2010

Pick Up Card

Here is a card I made using the PC "Just Because" Cards cart. It is for my Father-In-Law who just had triple bypass surgery.

I cut everything at 3.5 inches. The paper I used to make the truck was from DCWV shimmer mat stack. I really like the shimmer mat stack and wish I could find it in 12 X 12 size. The background gold paper was embossed in my Cuttlebug and I lightly brushed it with brown ink pad.

Pink Stamper Color Challenge

Here is a card I made for a Challenge over at My Pink Stamper. The challenge was to create something using the colors Pink, Green, Orange and Brown. This was a stretch for me because I don't normally put pink and orange together, but I actually like how this card turned out.

I decided to continue with things that I don't normally do, so I made my card with brown paper instead of my normal white. The cupcake was made using the PC cart Doodle Charms, an old cart that I have not used for quite a while! I also ran the background orange paper through the Cuttlebug using the polka dot folder, then lightly ran a white stamp pad over it to highlight the dots. The flame for the candle was made using Orange Stickles.

The cupcake holder was made by accordian folding brown card stock. To make it you need to keep in mind that the accordian fold has to be made with the bottom portion of the fold slightly smaller than the top. I also scored my cardstock first which helped tremendiously with making such small folds.

I added a piece of white card stock to the inside to give me an area for my message, then used a brown stamp pad to soften the edges around the white.


Here is a closer view of the inside message.