Saturday, November 20, 2010

Steaming Cup of Tea

Here is the cup I came up with for my Tea Pot.  I am not completely happy with it.  It looks lopsided to me, but I made it for my mom and Moms love anything their kids make for them don't they???  Even if their kids are parents themselves!

I just made the pattern for the cup by hand and used small strips of paper left over from my tea pot to put a pattern on the cup.  The steam was from the cricut cartridge Joys of the Season.  I also used my glitter pen to add some sparkle to the "tea" and "steam".

Let me know what you think.

Sunday, November 14, 2010

Bear Birthday Card

Here is a birthday card I made for my niece who loves bears.  When you open it, there is a shadow box inside.  To make this card I cut a piece of cardstock at 5 1/2" X 12".  I then scored it at 4", 7 3/4", 8" and 11 3/4". I used the Creative Memories oval cutters to cut the oval shape out for the shadow box.  This is cut in the middle of the 8"  score line and the 11 3/4" score line section of the card.  After folding all the score lines and cutting the oval shape out, lay the card with the inside of the card facing down and put tape on the very last 1/4" section.  Now flip the card over so the outside is down and fold the card at the 8" score line (making sure the adhesive is facing up).  Next fold the card at the 4" score line (over top of the oval cut out section) and make sure that you press the card against the adhesive.  When you open the card you should see a small shadow box that opens as you open the card.
The brown paper I used to make this card with I purchased at Big Lots a few years ago, it is Susan Winget's Spice Lattice.  The bear came from other paper I purchased on clearance by K & Company and is called Teddy Embossed paper.  I used my oval cutters and cut around this bear and the small bear that I used on the inside of the card.   The ribbon is from Paper Trey Inc and I punched the cream colored cardstock with my waterfall punch. 

I chalked around the edges of the oval cutout and each of the bear cut outs.  It is hard to tell from this picture that the inside is a shadow box, so the next picture I turned the cards so you could see the shadow box.
Let me know if you don't understand my instructions or have any questions about how to make your own shadow box card.


Wednesday, November 3, 2010

Tea Pot

Here is a tea pot I made with a cut file I purchased from My Time Made Easy.  Here is the address,  http://mytimemadeeasy.com/.  Just search under the store for Tea Pot and you will find it listed there.

I created the knob on top from strips of left over paper.  I made two circles and joined them together at opposite directions.  I just love how it turned out and plan to give it to my mom who actually collects Tea Pots.  I would like to try and make a matching tea cup and saucer to go with it, I will let you know if I actually succeed at that!
Thanks for coming by!

Thursday, October 28, 2010

My First Vinyl project

I finally used that vinyl I purchased several months ago and made some wall art for the house.  This is my finished project.  It only took a couple of hours to complete and I love how it turned out!
I used SCAL and DS to make this project.  The medallion and the swirls came from the Home Accents cricut cart and the letters were all done in SCAL.  The font I used for the words "IN EVERYTHING" was Times New Romans.  I downloaded a free font called killagraphy to do the words "give thanks". 
This was my first attempt at vinyl cutting and placing and I was surprised at how easy it really was.  The hardest part was designing the layout.  If you are interested, I have the files and am more than happy to share if you want them, you will just have to keep in mind that I used both DS and SCAL so I have two files in different formats.

Monday, October 18, 2010

Portholes

My husband and I went on a cruise to celebrate our 10th Wedding anniversay.  I took pictures of our room and wanted a unique way to scrapbook these pictures.  I decided to create "portholes" that you could open and see the room.  Here is what the page looks like.

To create the "metal' around the windows I just used gold foil paper and used my Creative Memories circle cutters, it may be easier to create the circles and cut them with Sure Cuts A Lot, but I did not have that program at the time that I created this page.  For each porthole I created two gold circles one smaller than the other.  In the center of the smaller circle I attached velium paper.  I used velum to try and create the look of a window.  The little latch at the bottom was created using the Cricut Cart Fabulous Finds.  I cut it out of copper colored metalic paper.  The "rivets" are made from copper colored brads.


Here you can see that I am using the latch to open up the porthole.  When I lift the latch you are able to see the picture of our room.
The background paper I used was a shiney cream colored paper that I thought resembled the outside of a ship.  The wavy water at the bottom of the page was created by using my Creative Memories wavy cutter and blue paper.
I hope you enjoyed my post!

Saturday, October 2, 2010

Magical Birthday Card

Here is a birthday card I made for my sister-in-law. When I sat down to do this I was in the mood for some serious "bling" and I just couldn't stop adding it.  I started out using the Wizard  from Cricuts Paper Doll Dress Up cart, cutting it at 4 inches (a calculation error I will explain later).  The blue paper used to make the hat and gown is DCWV glimmer stack.  I backed both pieces with some scrap yellow paper and then filled in each star with yellow stickles.  The very light blue cape and background papers are from scrap pieces of paper that I had.  I also spritzed the cape with some shimmer mist, the shoes also have shimmer mist on them but you can't really see that in the picture.  I used a little black chalk to add some streakes to the hair and cut the septer with gray paper then added silver stickles to it also.  The ribbon was some that I picked up from a clearance bin at Michaels.

If you are very familiar with the Wizard cuts in PDDU, you will know that the hat is not bent like I have it here.  This is where I had to be a little creative.  I realized that I cut the doll to large to fit on the card with the hat that is included but thought it was to cute to leave off, so I decided to cut it and "bend" the top part to look like the hat is bent over.  I then added a little yellow circle to the tip and of course it had to be "blinged up" with some stickles.  I think it turned out OK.  I decided to put the real hat cut on  the inside of the card.

I used the same background paper here that I used on the front and layered it with white so the stamped sentiment would be easier to read.  The hat is the unedited version of the PDDU hat cut. 

I had so much fun making this card. I hope my sister-in-law loves it as much as I do!

Sunday, September 26, 2010

Bird Challenge - My Pink Stamper

Here is a birthday card I made for a friend.  It also fulfills the requirements for a My Pink Stamper Challenge. The bird was cut at 3 3/4 inches from the Create A Critter cart.  I just  used some left over paper for the bird and the background.  I popped up the bird and also popped up the wing for more dimention to the card.

Saturday, September 25, 2010

Envelope Challenge - My Pink Stamper


There is a challenge on the Pink Stamper website to do something with an envelope, so here is my idea.  We took a family vacation to Disney World and had a blast. I wanted to scrapbook the cards that we used that week as room keys, proof of meal plan etc.  I decided to display them by creating an envelope out of vellum so you could see the cards through the envelope.  I then lined the envelope with gold paper and decided that it was a little plain so I added the small ribbon.  I then used the same ribbon on the tag that I made to put the journaling on.

Here is a close up picture of the envelope.

Thursday, September 16, 2010

Added a button for Penny Duncan Creations blog

I just put a button to the right for Penny's blog to make it easier to find.

Take a look, I am sure you will see many interesting things!

Wednesday, September 15, 2010

Great Blog to visit

I am sorry for not posting anything for a couple of weeks now, but I have been busy with the kids sports and adjusting back to the school schedules. I hope to get back to regular posts starting this weekend!

I just wanted to let you know that I found this great blog today. It is called Penny Duncan Creations. She has a lot of great SVG cut files along with tutorials showing you how to download and cut her shaplie files. I loved how she made an embossed image from one of her shaplie files. She also has some digital images which I have not ventured into yet, but I have a friend who is going to spend some time with me on Friday showing me how the digital stuff all works! I am so afraid for my pocktbook right now!!!

Anyway go check out Penny's blog, I am sure you will find something you like there. I have posted a link under my lists of blogs that I follow.

Wednesday, September 1, 2010

Pink Stamper Winter Challenge


Here is a card that I did for the Pink Stamper Challenge of making a winter theme project. I used the Everyday Paper Dolls cart to create the girl and I used the sign from Walk In My Garden cart. The snow is just some left over fuzzy white material that I had. I chalked a few clouds in the sky on my blue background paper.

Sunday, August 22, 2010

Garden Explosion Birthday Card

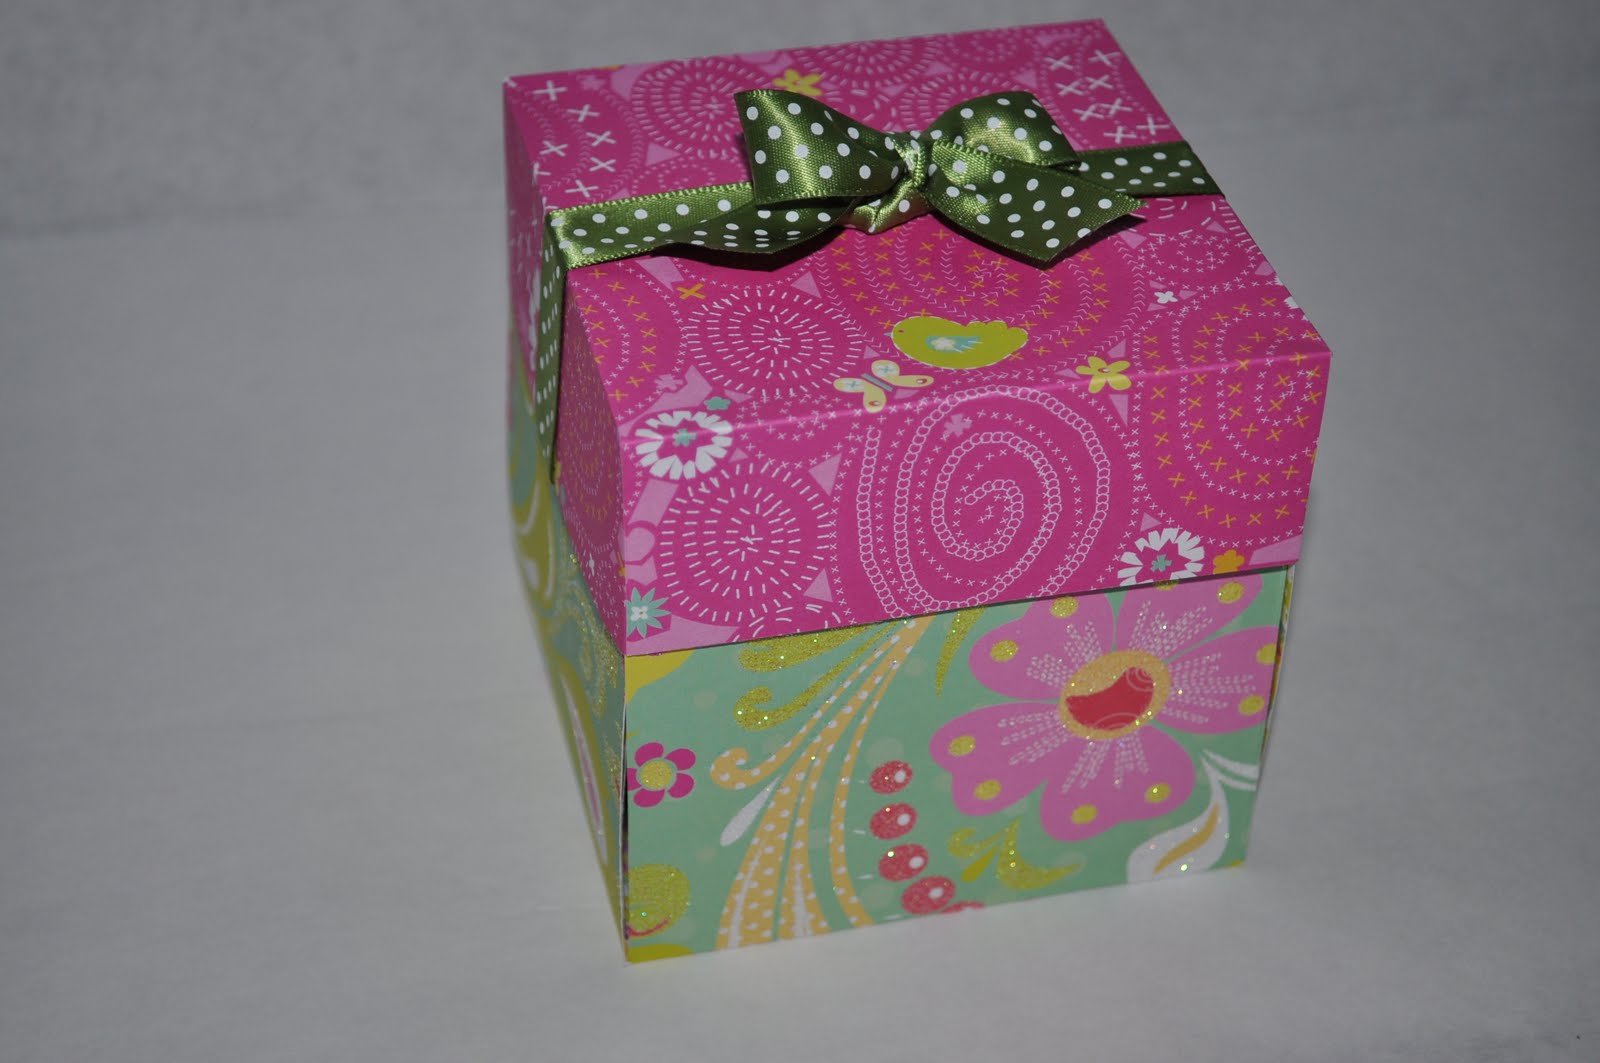
Here is another explosion card that I made. It was a birthday card for my Mother-In-Law who loves to garden. Unfortunately this is not a card that you can throw together in just a few minutes, but I think it is really really cute! This is the outside.

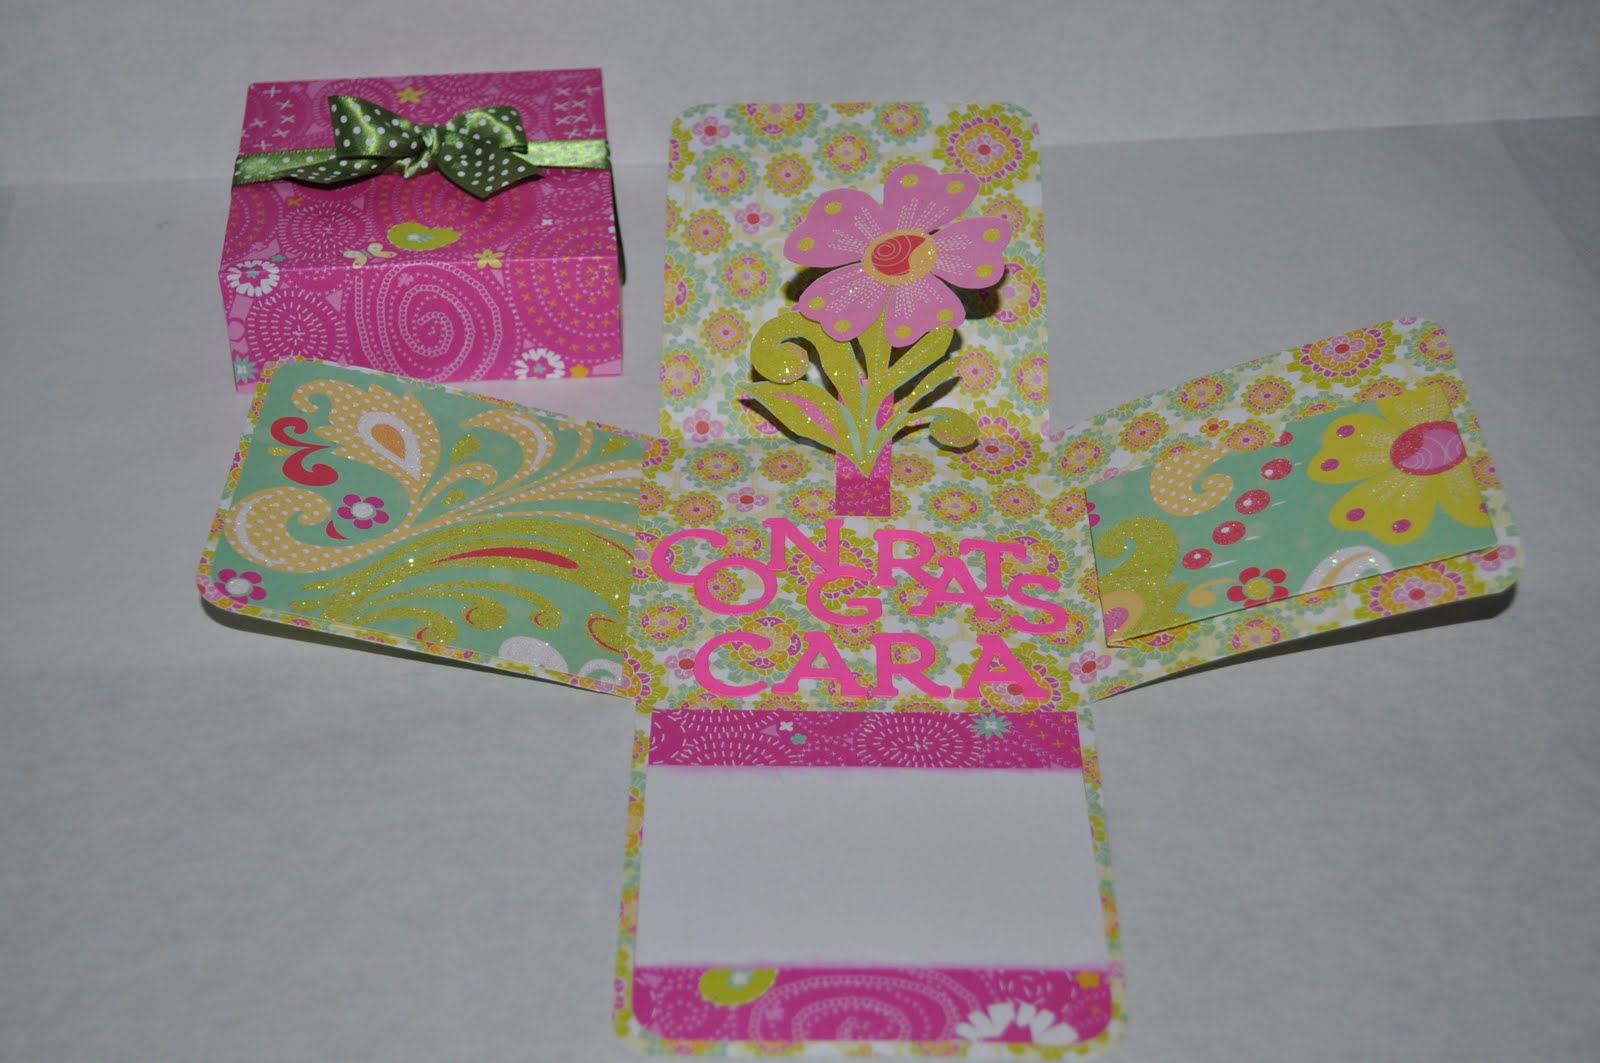
Here is the inside of the lid. I used the same paper as I did on all my other explosion cards, K & Company Berry Sweet.

This is the opened card. I used the Walk In My Garden Cart and the border function on the flowers.

This is a close up of the sign that I cut from Walk In My Garden and just wrote Happy Birthday on it.

I hand cut the grass using a grass die cut as a pattern, but discovered later that there is a grass cut on the Sportsmania cart. I also chalked the grass with a darker green chalk to make it look more realistic.

Here is where it gets a little tricky to explain how I attached the flowers to the card. I folded a brown piece of card stock that was measured to fit the lenght of each item. This is a picture of what I started out with. I then mounted the flowers to it and cut around the flowers so I would not have any brown showing on the card.

If you look closely you can see that I cut a small slit in the bottom of the card and slid the flowers (after they were mounted to the brown card stock) through the slit. I had hoped to make a video to post showing how I did this, but I am still working on that idea. If you have any questions just leave a comment for me and I will answer any questions that you have. One thing you will need to keep in mind if you are using several items as I did is to place them in offsetting locations so when the box is folded up they will not touch each other. I should have taken a picture looking into the box to show this, but did not think of that until I gave the card away. Again, if you have any questions, just leave a comment and I will get back to you with the answer.


I also mounted the watering can the same way.

Here is a close up of the section I saved to write a sentiment on. The turtle was cut from the same cart. Isn't he cute!

Sunday, August 15, 2010

Birthday Cake Card

Here is my second explosion card/box. I mentioned in an ealier post that I had gotten the idea and design from the Paper Pastimes site (I have her button posted on the right side of my blog). I had been wanting to try the birthday cake explosion card and here is my first attempt. The paper I used was K & Company Berry Sweet paper packet. I love using these papers for my explosion cards because it is a heavy card stock and printed on both side. I also used ribbon from Paper Trey Ink to make the bow.

Here is the box with the lid off.

This is what the cake looks like. I also got the pattern from the Paper Pastimes website.

I am not certain that I like the flower as a cake topper. The next time I think I will go with the traditional candles and see which I like best.

Tuesday, August 3, 2010

Thanks Lifesaver Card

My daughter and son attended a sailing camp this summer. We had to borrow life vests from a friend. Here is a picture of the card I made as a Thank You. The word "Thanks" was cut from the Lyrical Letters cart and the anchor was made from a punch I bought from Emagination website.


Here is the card opened. The waves were cut from a free cut file on the website SVG Cuts. They have several great cut files to choose from. The words "Your a lifesaver" were cut using DS and the Cursive 101 cart. The life jacket was one I made by hand just using a real life jacket as a model. Unfortunately the pictures do not do it justice, I love how it looked. I couldn't find a cut file of a sail boat that I liked for this card, so I drew one by hand and cut it out.

Here is an up close picture of the vest. You can see that I have it hanging from a piece of black ribbon. I used the same ribbon to make the ties around the vest.

I moved the vest out of the way so you could see the sail boat.


Let me know what you think!

Sunday, August 1, 2010

Track & Field Day Scrapbook Pages

Here are a few pages I did of my daughter in first grade for Track and Field day at her school. The letters were made using the cricut cart Cuttin' Up, the words "field day" in a flag came from the cart Locker Talk as well as the ribbon.

For this page I cut the track in the background out using the background feature of the Sports Mania cart.

The words were cut using the Cuttin' Up cart and the female runners were cut from the Sports Mania cart using the Border feature.

For this page I used the Everyday Paper Doll Dress Up cart and dressed the little girl in the same clothes that my daughter was wearing that day. She wore a purple shirt with jeans and complained about being hot so she rolled up her pant legs as much as possible. I did the same for the paper doll.

Here is a close up of the paper doll with her rolled up pant legs. I just inked them up with a little white ink to make them look realistic. I wanted the jump rope to match the one my daughter was using, so I cut out the jump rope twice. Once in black and once in white I then cut up the white one in small section to mount on the black rope. I think it is so cute that way!

I made the letters look like they were stitched in using a black pin.

This is the last page for Track & Field Day. To let you know just how far behind I am, my daughter is in 7th grade now!

Full House Fathers Day card

Here is a card I made for my DH this past Fathers Day. He loves to play poker so I made a card that resembles playing cards. What is funny about this card is that I came up with the idea of making a card that resembles a full house, but could not come up with some great words for the front. I was showing it to my children and asked them if they had any good ideas for the front and my 10 year old son immediately said, what about "We're All In For Fathers Day"! I thought it was perfect and decided to use it. I later noticed that I forgot to put the apostrophe in the word "We're" but we had already given away the card, Oops! Maybe next year I will catch all spelling errors.


I think the inside is a little plain, but I was in a hurry to get it done in time for Fathers Day! The letters on the inside were made using the Storybook cart from PC but I am not sure where I got the cut files for the shapes, but I think I used SCAL.

Thursday, July 15, 2010

Explosion Box for gift cards

Here are pictures of a box that I made using instructions from the website Paper Pastimes. I put her button on the right side of my blog. You really need to check out her work, it is so awesome! This project was made using only double sided papers (2 sheets), a cutter, a bone folder, some scissors, ribbon and adhesive, nothing was cut using the cricut. To get the instructions on how to make the box and lid I viewed the Cake in a Box video at Paper Pastimes, as you can tell I skipped the cake part (I really want to try it eventually though). I just love the paper I used which is Berry Sweet from K and Company. The ribbon is from Paper Trey Inc. Here is the box.

Here is a picture of the lid partially removed. As you can see, the sides of the box are not attached, so the box "explodes" when you take the lid off.

I couldn't bear to discard the corners of the paper that I had to cut off to make the box, so I decided to cut a flower and swirl from one of my scrap corners and attach it similar to the way Denise from Paper Pastimes in her video Explosion Box Gift Card holder attached her snowmen. Here is a picture of the box opened.

I just used another scrap corner and created a gift card holder similar to the one from the Cake in the Box video, it is on the right side of the box. I also used a small circle punch to punchout the half circle to make it easier to get the gift card out of the holder. Here is a close up of the holder.

On one flap I attached a small piece of white paper to write a sentiment on. I also chalked around the edges with pink ink.

Here is a close up of the flower in the center. Can you see the glitter on the paper?

Sunday, July 11, 2010

Birthday Card


Here is a birthday card that I made for my son who turned 10 on Friday. He has been anxiously waiting for the movie Dispicable Me to come out. The funky looking little characters on the card are my rendition of the minnions in the movie, they are a little rough, but my son could tell what they were. A friend of his who turns 10 in about three months saw it and asked me to make him a card for his birthday!

The letters were cut using the Cuttin' Up cart from PC. and I attached two minnions from thin string to make them hang from the card when opened.

Inside the card we put a movie ticket to the 3D version of Dispicable Me.